


")


Solflare is the second-most popular Solana wallet next to Phantom. And it appears to hold out its own in terms of development, growth, and user security. In fact, it now includes transaction simulation, that ensures that you know what tokens will leave the wallet for every transaction.
Table of Contents
What is SolFlare Wallet?
SolFlare Wallet is a Solana-based web3 wallet that allows users to send and receive SPL tokens and Solana non-fungible tokens (NFTs).
It is a non-custodial wallet, meaning private keys are not stored on SolFlare servers but on hardware wallets such as Ledger Nano S, or in an encrypted Keystore file.
How To Create a SolFlare Wallet With a KeyStore File
1. Download the SolFlare Wallet browser extension by clicking on this link.
2. Click “Add to Chrome” and “Add Extension” to download the wallet.
3. Click The Extension Button and Pin the SolFlare wallet.


4. Go to the wallet, click the “KeyStore File” button and select “Create a Mnemonic Wallet.”

5. Create a secure password, and click “Next.”
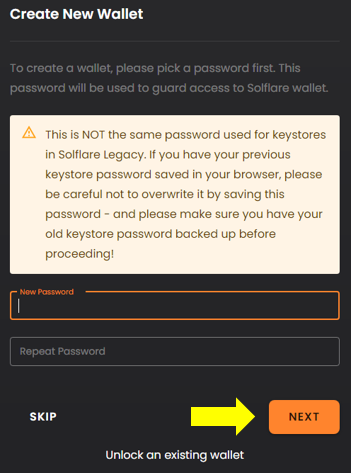
6. 24 mnemonics will be generated. Make sure to save these words by either clicking the “Download Backup” or “Copy to clipboard” buttons. Once the words are safely stored, click “I Wrote Down My Mnemonic.”
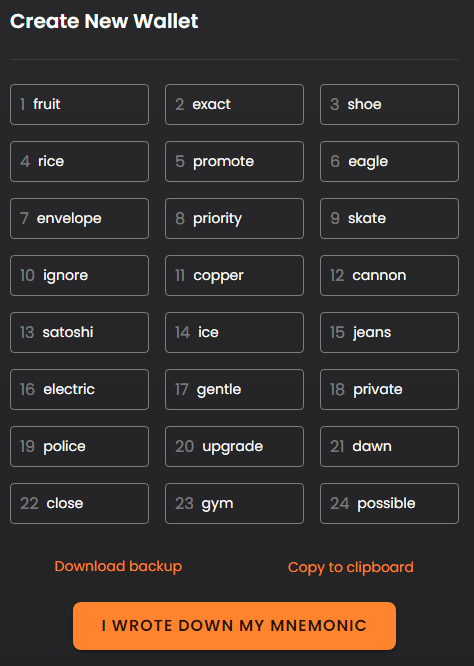
Writing them down on a piece of paper is also a safe option, as long as the paper can be stored in a secure place.
7. Enter the 24 mnemonic words correctly. Once done, click “Verify.”

8. Now your Solana Wallet has been successfully created. You can now receive, send and stake SOL tokens.
Reminder: Once the Keystore file or the password used to encrypt it is lost or forgotten by the users, they will be permanently locked out of their wallets, making their funds inaccessible. But as long as you memorized your mnemonic phrase,
Since it is a non-custodial wallet, the SolFlare team and developers cannot possibly help users retrieve their Keystore files and password.
Access SolFlare Wallet Using Ledger Nano Hardware Wallet
Hardware wallets are external storage devices to keep private keys. They are considered the safest place to store crypto wallets’ keys and other sensitive data as they are not exposed to cyberspace and are protected by a pin, making it hard for hackers to breach them. Ledger is considered the industry standard for highly-secured hardware wallets.
1. Setup the Ledger Nano hardware wallet and install the latest version of the Solana. Ledger wallets can be purchased on its website.
2. Plug in the device and open the Solana app. Wait for the “Application is Ready” banner to appear.
3. Click “Access a Wallet” on the SolFlare home page, and choose “Using Ledger Nano S/ Ledger Nano X.”
4. Next, go to the “Select Derivation Path” and choose:
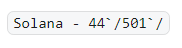
5. If the browser asks if Solflare may communicate with the Ledger device, allow it.
6. To interact with an address, click the lower drop-down box and select “Access.’
Reminder: If depositing funds to an address derived from a Ledger device, use this same address when using SolFlare to maintain access to the wallet’s funds.
Choose a Network
Solana has three networks, which are called “Devnet,” “Testnet,” and “Mainnet Beta,” and each network serves a specific purpose for the entire Solana platform.
Mainnet Beta is the default network on SolFlare. It serves as the permanent network of the platform where critical transactions such as application productions and exchanges are deployed securely.
To migrate on a different network, select the current network above the wallet dashboard, then choose the name of the desired network.
How To Send Tokens on SolFlare
1. Click the “Send” button

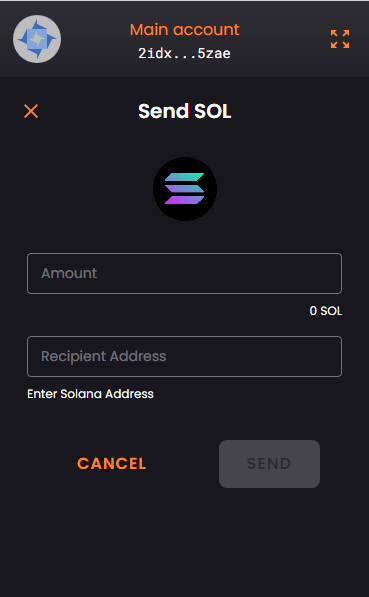
2. Enter the desired amount of SOL.
3. Enter the Solana address of the recipient.
4. Click Send. And that’s it.
How To Receive Tokens with SolFlare
This part is really easy.
1. Provide the wallet address to the sender by clicking “Copy Address”. Send your address to your sender.
2. If you hold tokens in a different wallet or crypto exchange, you can also withdraw your assets using the same address.
3. Your balance will be immediately updated once the Solana blockchain confirms the transaction.
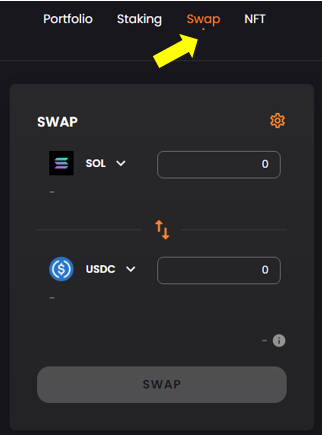
How To Swap Tokens
To swap SOL tokens, click this button to access SolFlare’s exchange.
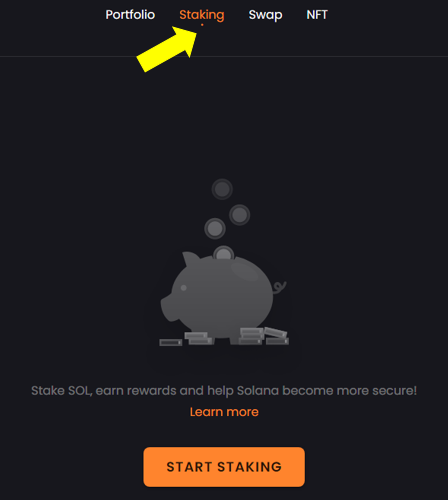
How To Stake SOL on SolFlare
1. Click “Staking”.
2. Then Select “Start Staking”.
3. Select the SOL amount that will be staked.
4. Choose the desired validator.
5. Once done, click “Stake”.

Reminder: Do not stake the wallet’s total funds as there are transaction fees that need to be paid.
The delegated SOL will only earn rewards after the “Warmup Period,” which will take one epoch, equivalent to 2-3 days. While this period is ongoing, the staking account will be under “Activating” status, but users can always check its progress on Solanabeach.io.
How To Improve Solana’s Security Through Staking
By delegating tokens on more than one validator, users can improve Solana’s decentralization strength and improve the network’s security. To do this, create more than one Stake Account and allocate funds on different Stake Accounts, but always keep in mind to save enough funds on the wallet for the transaction fees.
Conclusion
SolFlare wallet gives users a “red carpet” access to Solana blockchain’s breakthrough features, including a fast network with 400 millisecond block times, $0.01 per transaction for developers and users, and more than 400 DeFi, Web3, and NFT projects to choose from.
With the help of Ledger Hardware wallet, SolFlare provides the most secure way of interacting with Solana, providing users with profitable ventures and peace of mind all at the same time.

")
")


/(CBDC) Guide")
